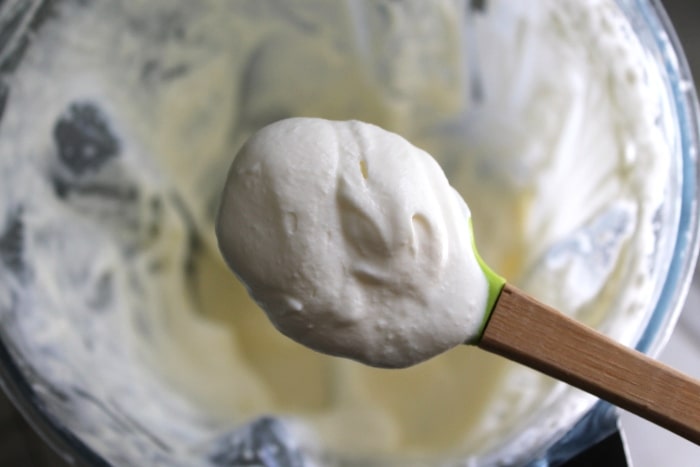
Making whipped cream in a blender is quick, easy, and convenient. With just three ingredients and a blender, you can have freshly whipped cream in under a minute!
The advantage of making your own whipped cream at home is that it’s convenient for when you need a dessert-topper, you can customize it to your taste, and it’s fresh! It also requires minimal time, effort, and mess!
There are many ways to turn cream into whipped cream at home (hand mixer, immersion blender, etc.), but a countertop blender is one of the quickest and most convenient appliances to use – so that’s what we’ll be using for this recipe.
With that, let’s get into it…
Can You Make Whipped Cream in a Blender?
Yes, you can definitely make whipped cream in a blender…as long as you have a good blender with a decently-powered motor.
A blender is a great appliance for whipping cream because the blades can create a vortex that adds air and evenly thickens the cream.
Other methods of making whipped cream at home include using a stand mixer (which can be bulky and inconvenient) or hand whipping (which takes time and a strong arm!). Using a conventional counter-top blender is another method that is often times the most convenient; i.e. it’s sitting on your counter already, it’s super quick to use, and it doesn’t require a big clean up – it’s the perfect appliance for the job.
Which Blender is Best for Whipping Cream?
Most blenders will work well for whipping cream, but especially blenders with strong motors that can whip the cream at high speeds.
Certain other functions and features can help, such as a pulse function, a variable speed function, a narrow blending container, and longer blades, but these aren’t mandatory.
The pulse function can be handy because you want to make sure you do not over blend the cream (which can be hard to judge at high speeds when everything happens so fast). Otherwise, just be sure to stop the blending at frequent intervals to check on how the whipped cream is coming along.
Blending doesn’t take too long overall, so you can also use other more manually-operated blenders as well, such as bullet blenders and immersion blenders. These may take a bit longer, but will give you more control, which is great.
Immersion blenders and bullet blenders are also ideal for small batches. For normal counter-top blenders, you’ll want a narrow container because you want the cream to be in contact with the blades, not just spattered out to the far sides of the container (which requires a lot of stopping and scraping).
How to Make Whipped Cream in a Blender
1. Gather ingredients
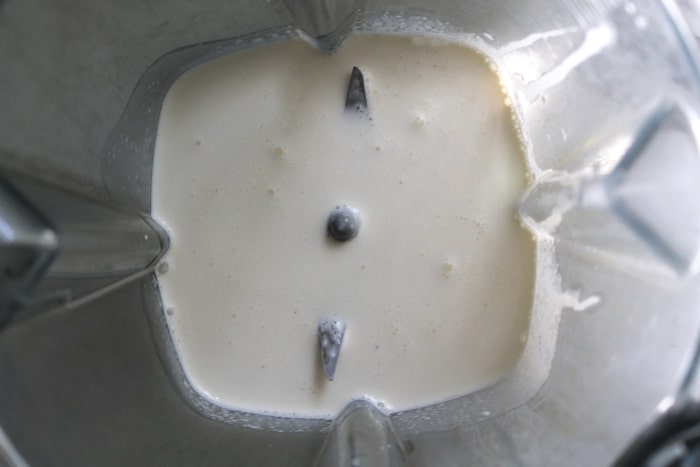
Gather and add to your blender the following three ingredients:
1) Cream
For the cream, 35%+ works great. The heavier the cream, the nicer it thickens up.
2) Powdered sugar (aka confectioner’s sugar or icing sugar)
For the sweetener, powdered sugar is best because it is finely ground so it melts and blends into the cream evenly.
You can use granulated sugar instead if you want – the granules should dissolve a bit, but you may still get a slightly more grainy texture in your whipped cream.
You can also try other sweetener like stevia (this comes in liquid form or crystal form – same idea here), maple syrup, or honey.
Just be careful with amounts of all these alternatives – you don’t need as much as you would with powdered sugar which has a less concentrated sweetness.
Also, with liquid sweeteners, they may need more blending and the result may be more runny.
3) Vanilla extract
Finally, for a nice touch of vanilla flavour, add a splash (to taste) of vanilla extract.
Vanilla is a flavour that goes with pretty much all desserts, but you can also get creative here and add in other personalized flavours to your taste.
2. Blend
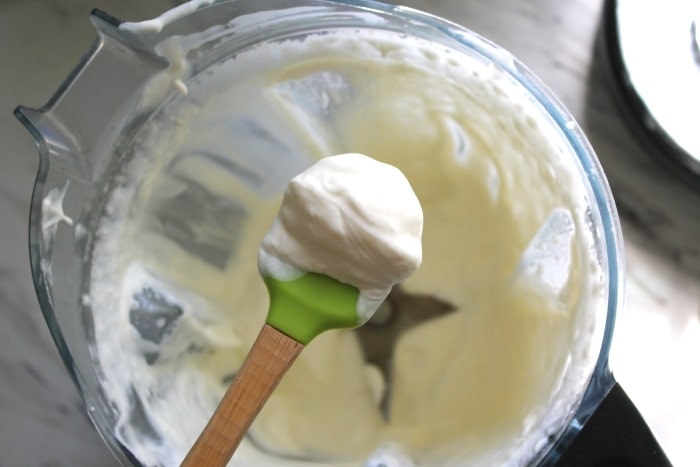
Start your blender on low speed to get the ingredients incorporated together, then increase to the highest speed to let the cream thicken and aerate.
It should only take about 30-60 seconds on high, so blend in short 5-second intervals or use the pulse function if you have it. Keep a close eye on it, as you don’t want to over-blend!
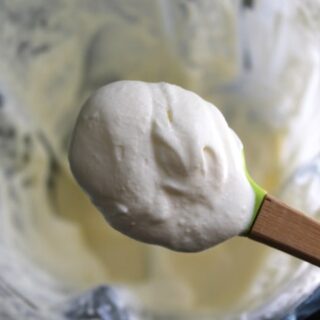
After about 30 seconds on high, it should look something like this:
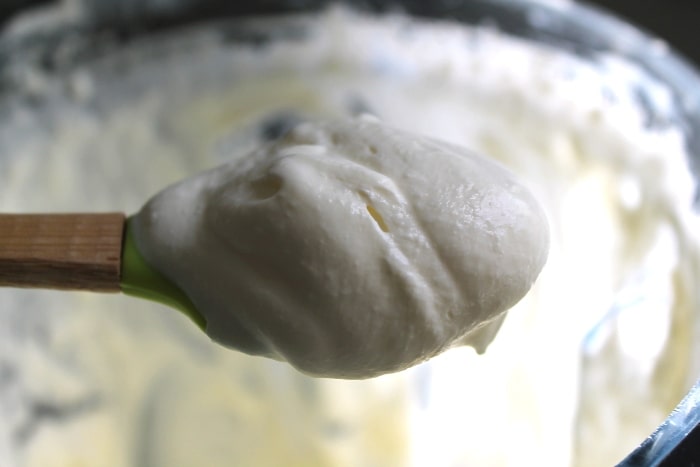
Depending on the amount of cream you are making, and the size/width of your blending container, you may need to stop and scrape down the sides of the blender every few seconds.
You’ll know it’s done when you have stiff peaks.
Be careful not to over-blend!
If you over-blend it, the cream will split – you’ll see that it is no longer smooth, and instead it is more lumpy and grainy due to the separation of the fat. Once your cream has split, it unfortunately can’t be undone, so be very careful not to reach that point!
3. Serve and enjoy!

And there you have it – freshly whipped cream, straight from your blender, whipped up in seconds, and ready to top all your favourite desserts, fruits, and drinks!
Freshly blended whipped cream is best served right away or at least within an hour or two.
You can put it in the fridge to help it last for later, but it will lose its airiness over time.
Conclusion
Making whipped cream in a blender is quick and easy. Minimal prep, time, effort, cleanup, and ingredients needed!
Give it a try and let me know in the comments below how this recipe worked out for you!
How to Make Whipped Cream in a Blender
Make your own freshly whipped cream in minutes with just three simple ingredients and a blender!
Materials
- Blender
Ingredients
- Cream (1 cup)
- Icing sugar (2 tbsp, or to taste)
- Vanilla extract (splash)
Instructions
- Add cream, sugar, and vanilla to blender pitcher/container.
- Turn on blender and slowly increase speed to high.
- Blend for 30-60 seconds, or until thick peaks form.
- Serve and enjoy!
Notes
- Can use other sweeteners and flavours, just reduce the amounts a bit and add to taste.
- Specific blending time and speed will depend on your blender's motor.
- Be careful not to over-blend (to avoid this, stop and check frequently).
- Best served right away. Can keep for a bit (in the fridge), but will lose some airiness and lightness.

